Hello friends! Thank you for the awesome feedback on last week’s post! If you missed it, I shared our foyer update! A simple board and batten entry room project that is functional and inviting. You can check it out here! Have you ever looked at a dresser or similar piece of furniture and imagined it prettier? I love to transform boring pieces into something more interesting! The furniture in your home can make bold statements about your personality. This dresser was a freebie I picked up from a friend a couple years ago. I thought I would try something new and stencil furniture. Here is how the dresser looked when I got it:

I painted it white, and then sanded it in areas and applied stain to give it a reclaimed look:

Not the best picture, but you get the idea!

After enjoying this version of the dresser for a couple of years, I decided to spruce it up a bit. My vision for this piece was funky, to incorporate soft color and stenciling to make it a unique piece. Alright, get out my paint!
Disclaimer: This blog post contains affiliate links to products and services I personally use and believe in. If you make a purchase, I may earn commission at no additional cost to you.
THOUGHTS AS YOU PREPARE TO STENCIL FURNITURE
I love a great paint brush, one that allows me to paint odd corners and intricate crevices. You guys- I found the most awesome brush and I use it for all of my paint projects and I will forever and ever! The brush is angled, perfect for capturing a smooth finish on my projects. Buying cheap brushes and throwing them away after one or two uses is silly! A great brush can last a long time- completely worth the investment! And as far as being lazy, I learned my lesson the hard way. A good brush can make a HUGE difference on any project. Washing takes minutes, a small price to pay for the outcome. Okay, enough talking about brushes!
Here is the list of supplies you will need for this project:
- Paint- you choose, funky colors or neutrals!
- Brush(es)- see the link above (I love Wooster!)
- Roller brush
- Paint pan
- Stencil
- Towels to collect drips

STARTING THE PROJECT
Here are pictures of the drawers being painted bright white. Each drawer received three coats, to really make sure the white is solid and bright.
I painted the sides of the dresser a bright blue. There is no brightly colored furniture in our home, so I figured why not?! I used Ultra White by Behr. Love the color! To really accent the dresser, I painted the top surface and the bottom legs black. To make the drawers pop, I painted dresser pulls black.
Confession time: I stink at taking pictures! Sometimes when I am so engrossed in a project, I forget to pick up my camera and snap pictures. I promise to get better on this detail, my friends! For now, please bear with me!
As the dresser was near completion, I felt like it was missing something. Have you ever experienced this during a project? It was looking good, but did not have the pizazz I had hoped. I decided to try my hand at stenciling.
STENCIL FURNITURE- FUN!
The stencil was purchased at Hobby Lobby. If I am honest, I did not spend a lot of time deciding on the stencil- I knew I wanted wispy and thin lines, with no specific shape. I taped the stencil on the dresser and…
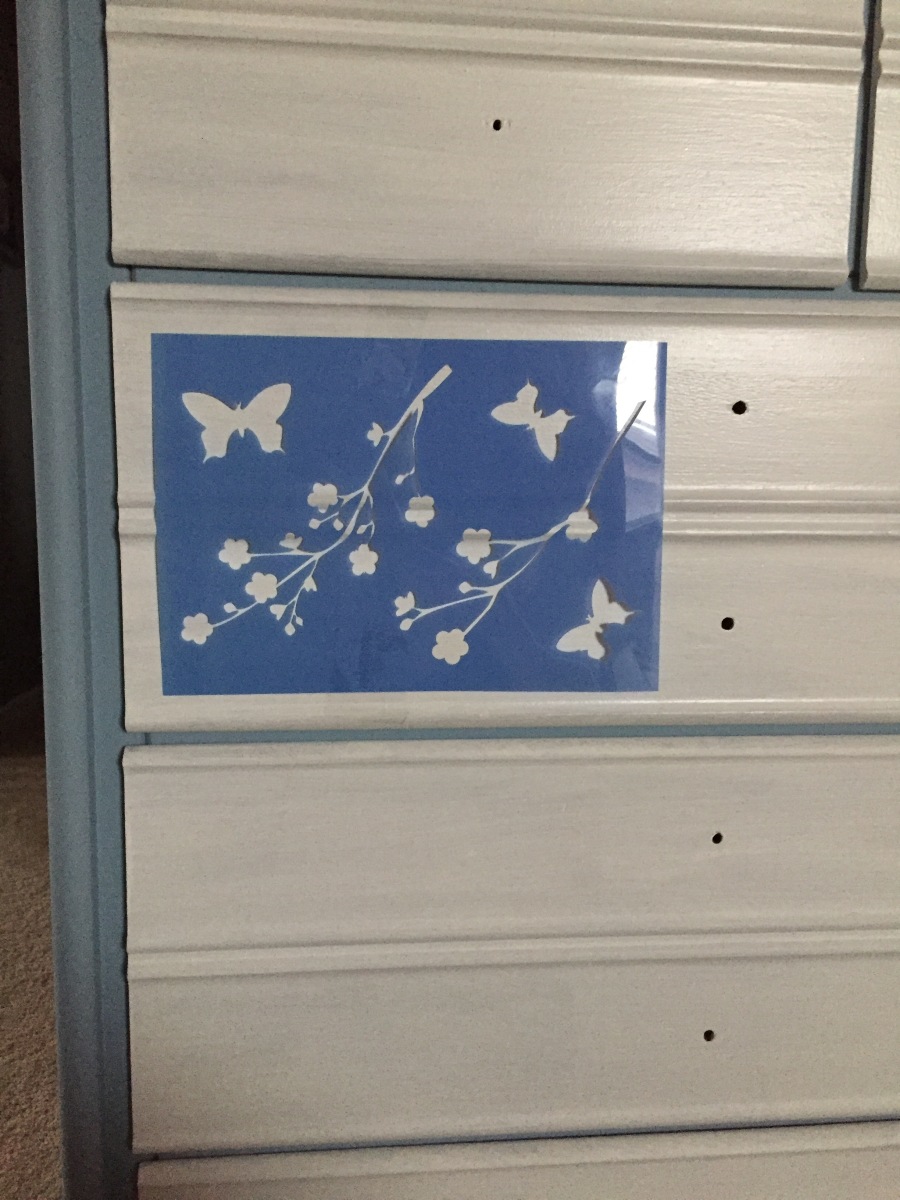
…moved it around so that eventually, each drawer had part of the design and it was connected.


I am not an artist by any stretch, but I felt this stencil provided a unique artistic flair to this piece! Here is the final product:

Looking for other cool furniture painting ideas? I painted stripes on a dresser!
 Check it out here.
So share with us, have you taken the brave leap and used a stencil on your furniture?
Join me next week as I share 5 secrets to painting furniture perfectly!